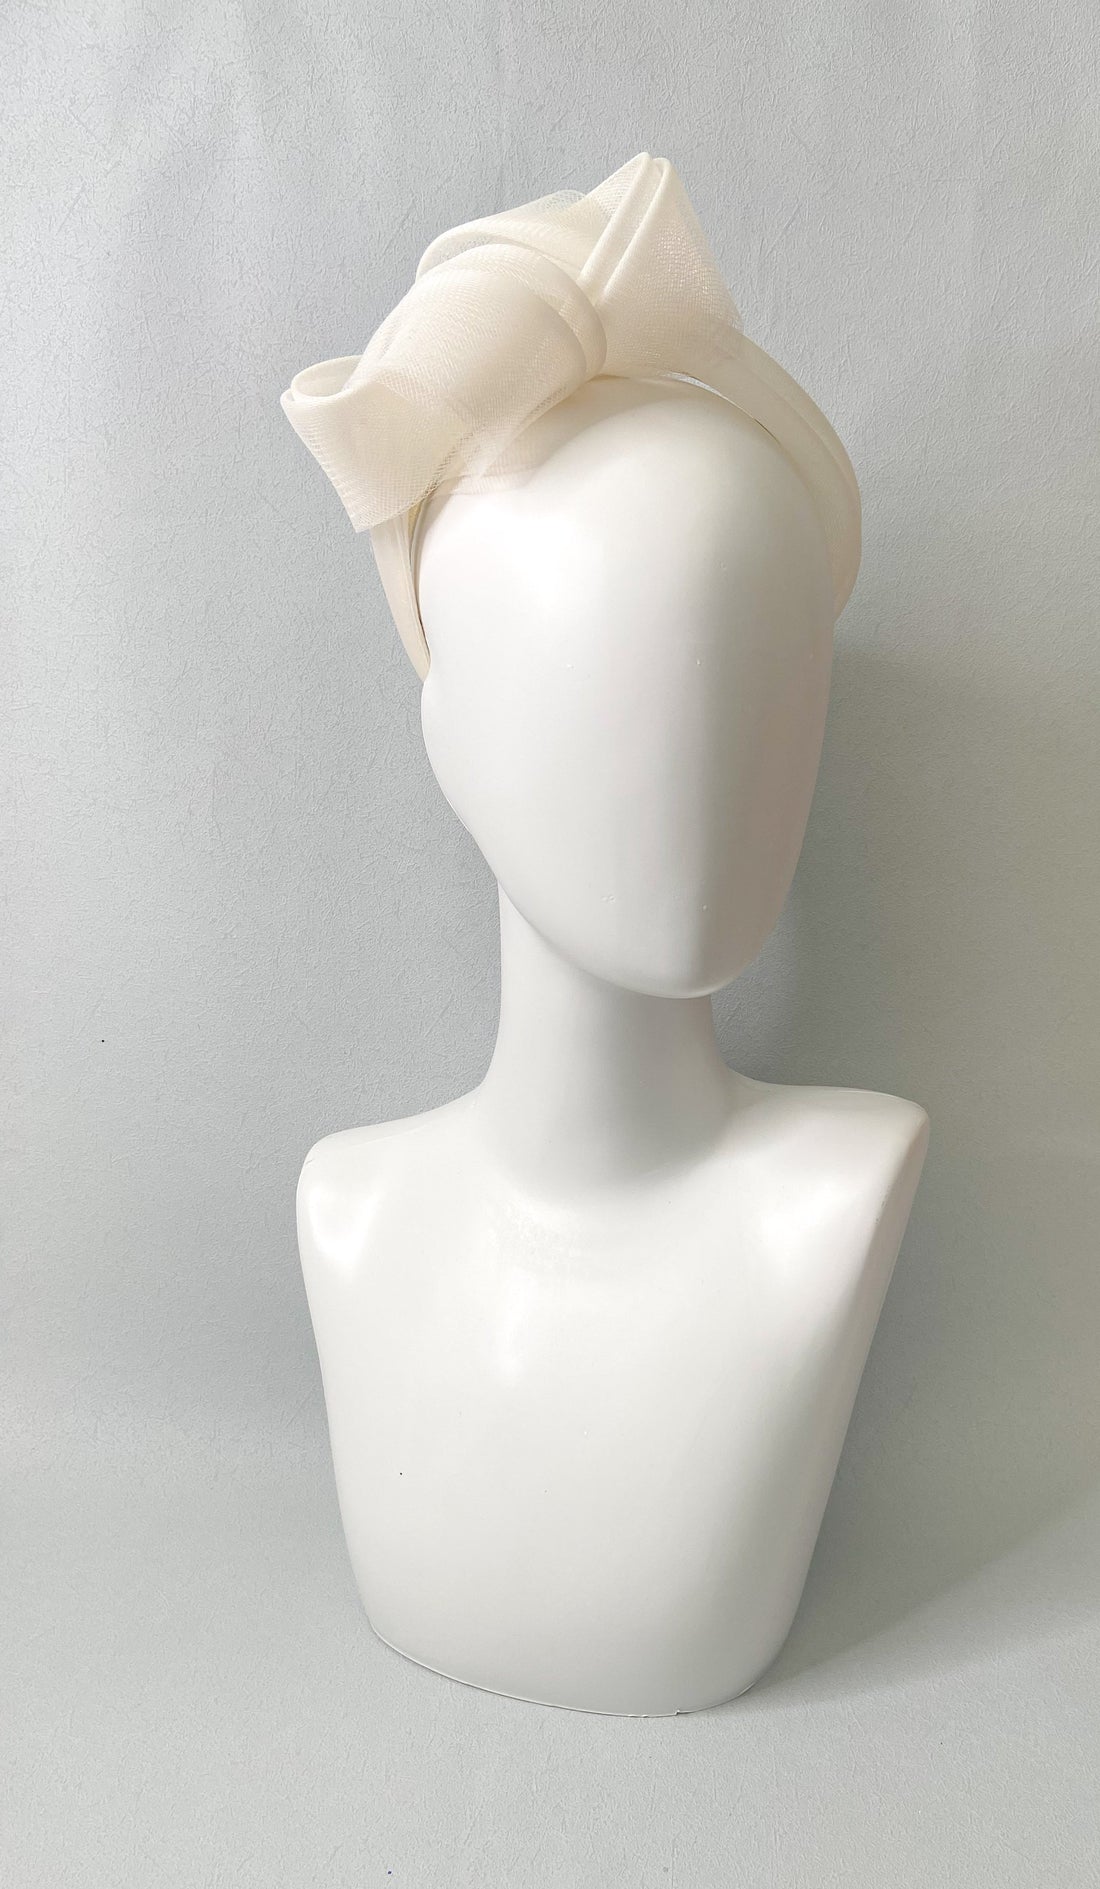
Elevate Your Style: A Step-by-Step DIY Fascinator Tutorial
Share
Fascinators have become a staple in fashion, particularly for formal events like weddings, horse races, and tea parties. These delicate headpieces add a touch of elegance and sophistication to any outfit. But why settle for a store-bought fascinator when you can create your own unique masterpiece? In this DIY fascinator tutorial, we'll guide you through the process of crafting your own stunning headpiece.
Gather Your Materials:
Before you begin, make sure you have the following materials:
- Sinamay or fascinator base (available at craft stores or online)
- Decorative items (choose one or combine):
- Feathers
- Flowers (artificial or real)
- Beads
- Sequins
- Ribbons
- Hot glue gun
- Scissors
- Floral tape (optional)
- Headband or hair tie
Step-by-Step Instructions:
1. Prepare your fascinator base: If using sinamay, shape and mold it to your desired form. If using a pre-made fascinator base, skip this step.
2. Choose your decorative items: Select the items that inspire you the most, and start arranging them on your fascinator base.
3. Secure your decorations: Use hot glue to attach your decorations to the fascinator base. Make sure to apply even pressure to avoid damaging the materials.
4. Add a headband or hair tie: Attach a headband or hair tie to the fascinator base, ensuring it's secure and comfortable to wear.
5. Finishing touches: Use floral tape to cover any exposed stems or wires, and add any final decorations.
Customization Tips and Variations:
- Play with colors: Experiment with different color combinations to match your personal style or event theme.
- Mix and match materials: Combine feathers, flowers, and beads to create a unique, textured look.
- Add some sparkle: Incorporate sequins, rhinestones, or glitter to give your fascinator a touch of glamour.
- Keep it simple: Opt for a minimalist design, focusing on a single statement piece or a delicate arrangement of flowers.
Conclusion:
With these simple steps and customization tips, you're ready to create your own stunning fascinator. Don't be afraid to experiment and try new things – it's all part of the DIY fun! Share your finished fascinator with us on social media, and don't forget to tag us.